Photographic Enlarger
An enlarger is basically a
highly specialized slide projector. It is carefully aligned and
facilitates fine adjustments for magnification, light intensity, light
duration, and light temperature. There are several things to consider
when choosing an enlarger. For colour printing, you’ll want an enlarger
fitted with a dichroic colorhead. This means that the head, or
lamphouse (the light source) of the enlarger is fitted with a set of
colour filters that are controlled and adjusted by you. It is possible
to make colour prints using an ordinary b&w enlarger through the
use of CC or colour compensation filters, but this is far less
convenient. Moreover, colour heads can be used for black & white
printing. If you are printing on VC/Multigrade paper, simply dial in
magenta for more contrast, or yellow for less contrast!
In addition to having colour control, you must also consider which formats you wish to print. With prices the way they are for what used to be extremely expensive and specialized equipment, I recommend buying an enlarger you can ‘grow into’. If you’re only thinking about printing 35mm film now, but someday might foray into the world of medium format, for example, I would suggest seeking out a medium format capable enlarger. Likewise, if you think you will be printing 4x5” film some day, you know what to do! Most 4x5-capable enlargers can readily handle 35mm film as well; which brings me to the next topic:
Enlarger lenses!
The following is a list of ‘normal’ lens lengths for enlarging differing film formats:
35mm (24x36mm): 50mm
120 film:
(6x4.5cm): 75mm
120 film: (6x6cm): 80mm
120 film: (6x7cm): 90mm
120 film: (6x9cm): 105mm
4x5”
150mm
You might see a trend here. The
shorter the focal length, the higher the magnification. Additionally,
the typical focal length for an enlarger lens closely matches the
camera lens 'normal'
focal length of each respective format.
Can you mix and match lenses
between formats?
Sort of. You can print the
smaller format with the longer
lens, but never the larger format with the shorter lens. If you use a
longer lens, however, the image magnification is reduced, and so you
have to lift the enlarger higher than normal to print at the same size
you would be printing with the correct lens. This effectively means
that your maximum print size is reduced.
There are a number of solutions
to this problem -- certain enlargers can be adapted for wall
projections where column-to-baseboard height is inadequate. Another
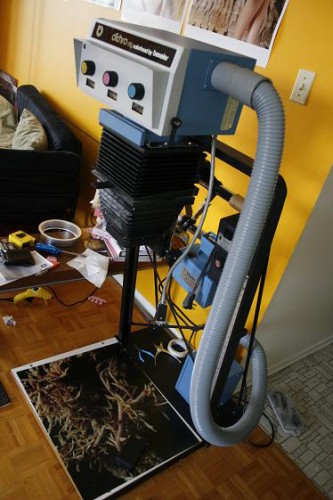
solution is to create a table with a trap-door to allow for floor
projections.
The following links might be useful for those still brainstorming
enlarger setups:
Trap-Door table design and darkroom
floorplan
Image gallery of DiY Trap door Table
I made the table using an
off-cut sheet of MDF and some 2x4's. Total
cost of materials including screws and hinges was less than $20!